
How to Measure Pipe Wall Thickness with an Ultrasonic Thickness Gauge
Corroded pipe wall thickness is measured with an ultrasonic gauge and a dual element transducer: clean the spot, apply couplant, calibrate sound velocity and zero, place the transducer with its barrier across the pipe axis and take the minimum reading.
Corroded pipe wall thickness is measured with an ultrasonic thickness gauge and a dual element transducer. The procedure: clean loose rust and scale from the spot, apply couplant, calibrate the gauge for sound velocity and zero, place the transducer with its sound barrier across the pipe axis, and record the minimum of several readings. Each step and the common mistakes are covered below.
How an ultrasonic thickness gauge works
The transducer sends a short ultrasonic pulse into the wall. The gauge measures the time the pulse takes to reach the inner (back wall) surface and return, and converts it to thickness using the known sound velocity of the material. Access from one side is enough, so the pipe is not opened or cut.
Step 1. Choose the transducer
Corrosion gauging uses dual element transducers and dedicated corrosion gauges. The transmitting and receiving elements are angled towards each other and their beams cross below the surface. That gives two advantages:
- the transducer is more sensitive than a single element one to echoes from the base of pits, the thinnest part of the wall;
- the receiver is unlikely to pick up false echoes from couplant trapped in pockets on a rough surface.
Every transducer has a minimum measurable thickness and a minimum surface radius. According to Evident, for example, the D790 works in steel from about 1 mm and on radii from 20 mm. If the wall is thinner than the transducer minimum, the gauge can lock onto an invalid echo and show an incorrectly high thickness, the most dangerous error in thickness gauging.
Equipment covered in this article
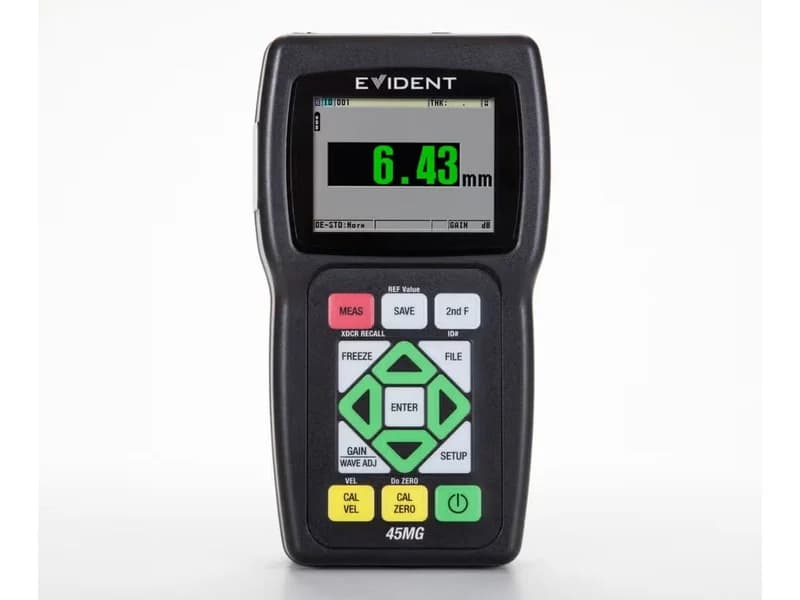
Olympus 45MG — ultrasonic thickness gauge
Olympus (Evident) ultrasonic thickness gauge: 0.08–635 mm, dual and single element transducers, Echo-to-Echo and THRU-COAT options for measuring through coatings, up to…
Step 2. Prepare the surface
- Remove loose rust, scale and dirt with a wire brush or file: they interfere with coupling.
- Thin, smooth, well-bonded rust is generally acceptable.
- Rough cast or heavily corroded surfaces may need sanding or grinding.
Step 3. Apply couplant
Ultrasound does not cross an air gap, so a couplant is needed between transducer and metal. Glycerin suits rough surfaces; a gel that does not run suits vertical walls and overhead pipework. Hot surfaces need special high-temperature couplants: Evident's H-2, for example, is rated from −18 to 400 °C. More in the couplant card.
Step 4. Calibrate the gauge
Calibrate the gauge for sound velocity and zero offset as described in its manual (for a dual element transducer, zero is the pulse transit time through the delay lines). Calibrate on a sample of the same material with known thickness, such as a step wedge. For hot pipes, calibrate velocity on a sample heated to the measurement temperature: with a room-temperature setting the error on hot metal will be significant.
Step 5. Place the transducer correctly
- On small-diameter pipes the sound barrier (the divider between elements, visible on the probe face) is set perpendicular to the pipe axis.
- Press firmly, but do not scrape or twist the transducer on rough metal: lift and reposition it for each reading.
- When scanning an area, keep the step between readings no greater than half the transducer diameter, or a pit can be missed.
Step 6. Take and record readings
- Take several readings at each point and record the minimum: it corresponds to the thinnest spot.
- Always measure where corrosion and erosion are worse: the outside of bends and areas near welds.
- If the gauge gives no reading, the wall may be badly degraded or the thickness outside the transducer range. Check such a point separately instead of skipping it.
If the pipe is painted
Through thin paint (roughly 0.1–0.2 mm) standard measurement is often possible. Thick coatings attenuate the signal and can create false echoes. For them use echo-to-echo or THRU-COAT mode, which exclude the coating thickness. These modes are less effective at detecting pitting and the true minimum thickness, so on critical areas it is better to remove the coating.
Deep external pitting
With pits on the outer surface, measure the undamaged wall next to them ultrasonically, measure the pit depth mechanically with a depth gauge, and subtract. Alternatively, grind the area down to the base of the pit and measure there.
Hot pipes
- Ordinary contact transducers are damaged above roughly 50 °C. Do not put them on a surface too hot to touch comfortably.
- Dual element corrosion transducers tolerate brief contact with hot surfaces: up to 500 °C for some models. Let the transducer cool between readings and use the freeze function.
- At elevated temperatures it is often necessary to increase gain.
Which thickness gauge to choose
- Rounds and corrosion checks without data logging: 27MG.
- Corrosion with a data logger, coating modes and A-scan: 45MG with options.
- Walls under thick coatings and demanding data requirements: 39DL PLUS.
A detailed comparison is in Which Olympus thickness gauge to choose, and a corrosion inspection route in Corrosion monitoring of pipes and vessels at CHP plants and refineries. You can pick a model for your task in the thickness gauge selector. KEG TRK supplies Evident (Olympus) thickness gauges in Kazakhstan. Price on request.
Sources
Frequently asked questions
Equipment in this article
KEG TRK quotes prices and delivery times to Kazakhstan on request. We will prepare a commercial offer for your application.
Olympus 45MG — ultrasonic thickness gauge
Olympus (Evident) ultrasonic thickness gauge: 0.08–635 mm, dual and single element transducers, Echo-to-Echo and THRU-COAT options for measuring through coatings, up to…
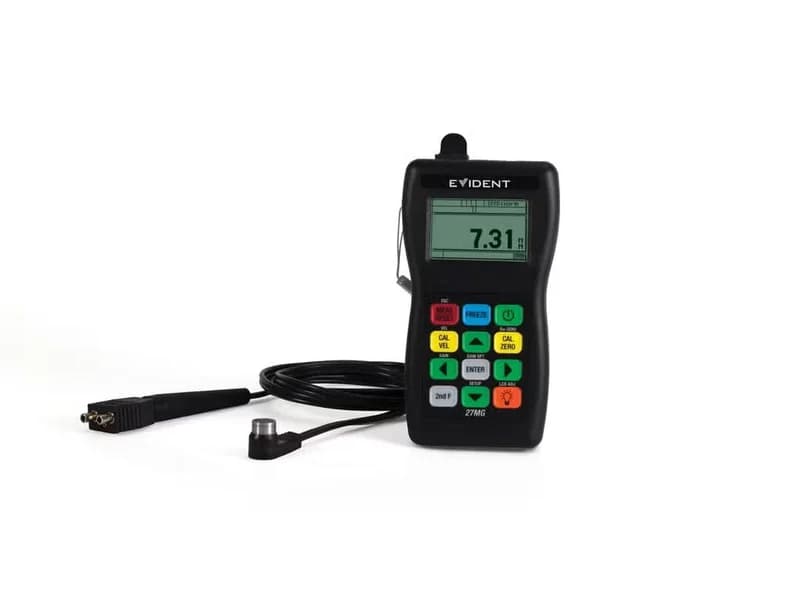
Olympus 27MG — ultrasonic corrosion thickness gauge
Simple Olympus (Evident) ultrasonic corrosion gauge: 0.5–635 mm, 2.25–10 MHz dual element transducers, Min/Max mode at 20 readings per second, 150 h on three AA…
Read also
10/10/2026
Electric Motor Vibration Limits per ISO 10816-3: Zone A–D Table
Motors above 15 kW are assessed by RMS vibration velocity in the 10–1000 Hz band. For 15–300 kW machines on rigid foundations the zone boundaries are 1.4 / 2.8 / 4.5 mm/s. Full tables and how to apply them.
8/24/2026
Oil Analysis and Tribology: The Third Pillar of Predictive Monitoring
Oil analysis reveals wear, contamination and lubricant degradation long before ultrasound hears it or vibration analysis sees it. We examine the method as the third pillar of condition monitoring.
10/10/2026
How to Find Compressed Air Leaks in a Plant: 5 Methods
Compressed air leaks are found in two steps: first estimate the losses from how the compressor runs, then locate the points with an ultrasonic detector or an acoustic camera. Five methods and where each one works.